
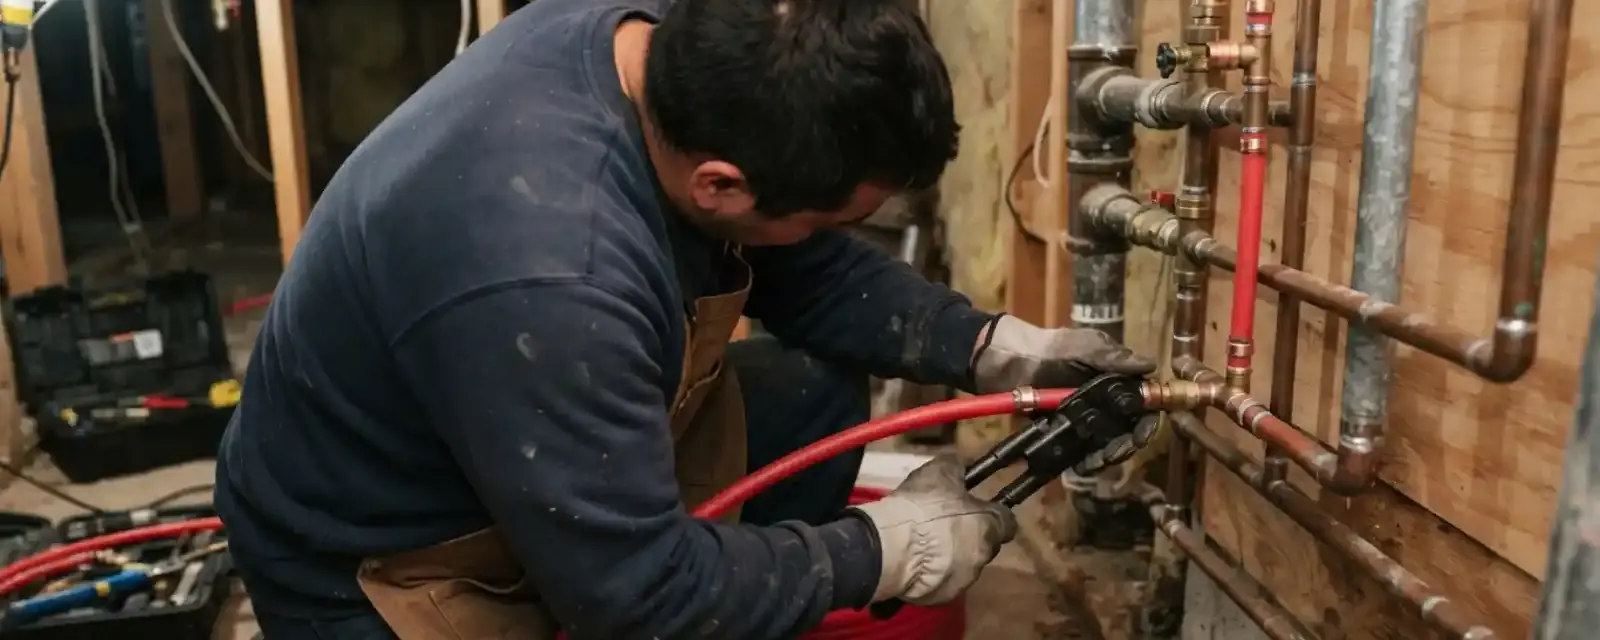
Bathroom plumbing installation starts with drains, vents and water supply lines inside open walls and floors. After inspection and wall finishes, the fixtures go on. Getting the layout right at rough-in is what keeps the finished room from leaking, gurgling or running out of hot water.
This guide walks through the order of work, how fixture choices change the pipes behind the wall, what to decide before demolition, and where a licensed plumber should take over from a handy homeowner.
Most Westminster neighborhoods were built during the 1960s boom, and about 53 percent of homes are owner-occupied while 47 percent are rented. If you rent, ask the landlord before opening any wall, because only the owner can authorize plumbing changes. If you own, plan for original shutoff valves that may not close fully after decades.
Decisions to make before any wall comes down
The pipes follow the layout, so settle the layout first. Moving a toilet a few feet means new drain and vent work. Keeping every fixture on the existing wall is the cheapest way to remodel.
Choose your fixtures early too. A rough-in is built around the exact model, because valve depth, drain location and mounting height vary from one product to the next.
Settle these before rough-in
- Final position of toilet, vanity, tub or shower
- Fixture model numbers and specification sheets
- Shower valve type and number of outlets
- Where the water shutoff and water heater are located
- Whether the floor is slab or raised
- Exhaust fan and electrical needs for the plumber's schedule
Rough-in plumbing, stage by stage
Rough-in is everything that disappears behind finished surfaces. It is the stage where mistakes are cheapest to fix, because the walls are still open.
- 1
Drain layout
Set the toilet, sink, tub and shower drains at the right slope, with the toilet flange positioned off the wall for the finished toilet.
- 2
Vent connections
Tie each fixture into a vent so drains flow quietly and traps keep their water seal.
- 3
Supply lines
Run hot and cold lines to each fixture, with stop valves and a mixing valve for the shower or tub.
- 4
Pressure test and inspection
Fill the lines and drains to test for leaks before anything is covered. Ask the Building Division whether an inspection applies.
Once the system passes, walls, waterproofing and tile can go up. Nothing should be closed in until you have seen the test hold.
Drain and vent sizes by fixture
Each fixture needs a drain big enough to carry its flow and a vent that lets air in behind it. The sizes below are typical for residential work, but your plumber confirms them against the code that applies to your job.
| Fixture | Typical drain size | Rough-in note |
|---|---|---|
| Toilet | 3 inch | Flange set by finished floor height |
| Bathroom sink | 1-1/4 to 1-1/2 inch | Often 18 to 20 inches above floor |
| Shower | 2 inch | Pan or curb layout drives location |
| Bathtub | 1-1/2 to 2 inch | Overflow and trap sit under the tub |
| Bidet or utility sink | 1-1/2 to 2 inch | Needs its own vent connection |
Why a bathroom needs venting
A drain without a vent pulls water out of the trap as it runs, and that opens a path for sewer gas into the room. Slow draining, gurgling and a sewer smell are the usual signs of a venting fault.
Remodels often reuse the old vent, but that vent must still reach the roof or connect to another vent in a code-approved way. A plumber checks that connection while the walls are open. If your old bathroom ever gurgled, mention it before work starts.
Supply lines, hot water and hard water in the new bathroom
Bathrooms added far from the water heater wait a long time for hot water. A longer run also wastes water while you wait. A shorter run or a small recirculation setup can help in that case.
If you are adding a large tub or a multi-head shower, check that your water heater installation is sized for the extra demand. A 40-gallon tank may not cover a soaking tub plus a second shower.
Westminster water averages 252 mg/L of total hardness, or roughly 14.7 grains per gallon. Scale builds on showerheads, aerators and cartridge seats, so pick fixtures with accessible, replaceable cartridges.
Plan stop valves at every fixture so one failed part never means shutting off the whole house. Ask about a softener or filter before the walls close if you want one. Also decide where a drain pan or floor sensor makes sense under a new tub or washer.
Order of work in a typical bathroom remodel
The sequence keeps trades out of each other's way. Plumbing goes in before insulation and drywall, and fixtures go on only after the walls and floor are finished.
| Phase | Work | Who |
|---|---|---|
| 1 | Demolition and layout check | Contractor |
| 2 | Rough plumbing and test | Licensed plumber |
| 3 | Framing changes, insulation, drywall | Contractor |
| 4 | Waterproofing, tile, vanity base | Tile setter |
| 5 | Finish plumbing: toilet, faucets, shower trim | Licensed plumber |
| 6 | Final leak check and caulk | Plumber and homeowner |
Permits and inspections: the Building Division question
The City Building Division keeps a permit worksheet that lists water heaters, fixtures, backflow devices and building sewer work. Whether your project needs a permit depends on its scope.
Call the Building Division at (714) 548-3254 or stop in at 8200 Westminster Blvd on a weekday before work begins. Asking first is quick, and it avoids having finished walls opened later for an inspection.
Before you sign, verify any contractor's license on the CSLB website at cslb.ca.gov using Check a License. It takes a minute and confirms the license is active.
What older Westminster bathrooms often hide
A typical Westminster home dates to about 1971. Behind the tile of an older bathroom you may find corroded shutoff valves, brittle supply lines and cast iron or galvanized drains. Opening the wall is the right time to replace them.
If the whole house shows signs of aging pipes, a repiping plan can be done in the same project. Doing it while walls are open usually costs less than opening them twice. For the fixtures themselves, our plumbing installation page lists what we install.
Doing part of it yourself
Homeowners can handle demolition, painting and swapping a faucet or showerhead. Drain, vent and supply rough-in is where a licensed plumber should work, since errors are hidden once the walls close.
We serve Westminster and nearby towns, including a plumber in Garden Grove. See where we work for the full list. Call (714) 750-8637 to talk through a bathroom project.
Bathroom rough-in follows the California Plumbing Code (Title 24, Part 5), and the City Building Division, (714) 548-3254, can say whether a permit applies. Verify your contractor's license on the Contractors State License Board website.
Bathroom plumbing questions from Westminster homeowners
How long does bathroom plumbing installation take?
Rough-in for a single bathroom is often one to three days, and finish plumbing is usually a day. The total timeline depends on tile, inspection scheduling and fixture delivery.
Do I need a permit for bathroom plumbing in Westminster?
It depends on the scope of the work. Ask the City Building Division at (714) 548-3254 whether a permit applies before you start.
Can I move my toilet to the other wall?
Usually yes, but it needs new drain and vent work and often opening the floor. Keeping the toilet where it is saves the most money.
Do I need a new vent for a remodeled bathroom?
Not always. The existing vent can be reused if it is sized and connected properly. A plumber checks this while the walls are open.
What does bathroom plumbing cost?
It varies widely with layout changes, fixtures and access. Simple fixture swaps are modest, while moving drains and adding a shower can reach several thousand dollars. A plumber should give a clear price before work starts.
Should I pick fixtures before the plumber starts?
Yes. The rough-in is built around the exact valve and drain specifications, so changing models later can mean opening finished walls.